Chest Workout at Home|10 Minutes (FOLLOW ALONG)

All you need is a chair and a little bit space to perform this workout! Sounds interesting? let’s hop into it!

” EXCUSES ARE FOR THOSE WHO DON’T WANT IT BAD ENOUGH”

Due to the current situation, a majority of people don’t have access to a GYM or aren’t willing to go to a gym and workout. People prefer to train at home or at park, that’s good. But now the problem is, as we don’t have access to weights, we can’t stimulate or grow our muscles right? If you feel the same way, no worries we’ve got your back.

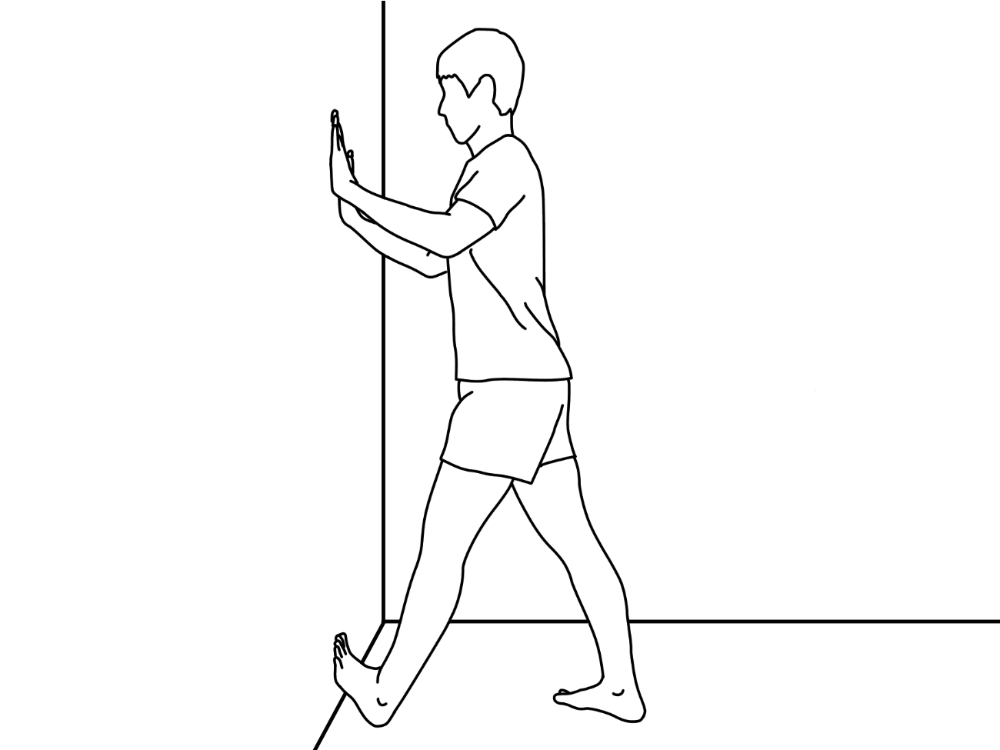
In this blog post i’ll give you a HOME CHEST WORKOUT plan which can be performed by anyone, regardless of one’s fitness level is in just 10 minutes, I’m going to show you how to train your chest, shoulders and arms to build bigger muscles with just your own bodyweight and a single chair. 

Making it perfect for those that are traveling or simply can’t afford an expensive home gym or membership.

The workout is also going to be scalable from rank beginners all the way up to the most advanced.  The key to the structure is that it uses reverse tabata timing and progressively easier exercises to ensure that even as you get fatigued, you’ll be able to keep the pain coming for each of the 20 intervals that make up this workout.

First things first!

The first thing you have to decide is whether you consider yourself a beginner, intermediate or advanced when it comes to your upper body strength and chest development.

If you are a beginner, you will start with exercise six and proceed through exercise ten.  If you are a more advanced, you will start with exercise one and proceed to exercise five.  Finally, if you are intermediate then you will start with exercise three and go to exercise seven.

The key is to perform each of the five exercises for four rounds (a total of two minutes each) with a 10 second on and 20 second off cadence.  If you want to stick with the same exercises from workout to workout, you can always make this progressively harder and add progressive overload by gradually increasing your work time and decreasing your rest time.  The best place to increase to would be 15 seconds of work and rest time each round. 

For this home chest workout, you are going to start with 10 seconds of work time and 20 seconds of rest.

You will find, as I said, that no matter which level of difficulty you start with you will be performing easier versions of the pushup exercise as the minutes wear on.  This doesn’t mean that the workout is easy however.  Because the cumulative fatigue is going to become a factor, you will want to be sure that you don’t underestimate the challenge that lies ahead of you.

The Bottom Line

Having done the intermediate version of this home chest follow along workout, I can tell you first hand that this is no walk in the park. The hardest part is making sure that you are ready to go from the very first second of the work interval.  You are only doing 10 actual seconds of work each round so you want to be sure that you aren’t moving too slowly during the transition that will cost you a valuable rep or two in the process.

Hey you made it to the end, I appreciate u bro. If you like the intensity of this quick but effective 10 minute home chest workout then don’t forget to follow my blog because i post two new blogs every week and turn on your notifications so you never miss a new post when it’s published ill then peace out….

New post every Monday and Thursday

Found this post interesting? let me know!

Let’s stay in touch

Stop Trying To Touch Your Toes (NOT GOOD!) Let’s hop into it!

“STAY COMMITTED TO YOUR DECISIONS, BUT STAY FLEXIBLE IN YOUR APPROACH”

You would have heard people saying that “Being able to touch your toes is a good barometer of your overall fitness and flexibility” then continue reading this post.

Here I’m going to show you why you not only want to stop trying to touch your toes and instead do the move I’ll show you as an alternative. All you have to do is look at the implications this position has for hiding postural flows and imbalances and you will see quickly why it’s something you will not want to keep doing to help you feel more flexible.

It starts by letting you test yourself. Can you actually touch your toes? Many people will be able to, but many more will not. Even if you cannot, I can make it much easier for you if I tell you to be sure you roll your butt underneath you before you attempt to bend down. This will place a lot less of a stretch on the hamstrings making it easier for you to fold.

The issue with this modification is that many people do this naturally anyway in order to cheat their way to their toes. This really isn’t giving them any valuable information regarding their own flexibility and the health of their posture. In fact, it’s doing them a disservice by convincing them that they are more flexible than they really are and therefore allowing them to shrug off doing anything about it.

When you slump forward to touch your toes you are actually initiating much of the range of motion through the thoracic spine. You are flexing forward into severe kyphosis in order to achieve the hands to the toes position. This is only reinforcing a bad tendency for having slumped posture. It gets worse from there however. The low back is forced to round and the pelvis is thrown into a posterior tilt. This is the exact position that someone who is aged and has lost all semblance of good posture will adopt.

Even more, the shoulders themselves slump forward and are lacking any kind of scapular stability. All of these issues combined are a recipe for disaster when it comes to proper posture and the insinuation that being able to get into this position of hands to toes is in some way a good thing is misleading to say the least.

Instead of being obsessed with whether you can still touch your toes I’m asking you to try something else.

  • Stand about 3 foot lengths away from the wall and reach forward with one leg until you can prop your toes up against the wall. Immediately, you should feel a stretch on the calf of that leg and likely already the hamstring. From here, reach your hands up against the wall slightly over shoulder height and place your palms flat against the wall.
  • Simultaneously walk your hands up the wall while leaning your chest in. The goal should be to ultimately touch your chest against the wall without any care towards whether you are bending down or forward. You are simply supposed to reach your chest forward. If you cannot get there, don’t worry, this is normal. You will however want to work towards getting your chest closer over time.
  • Hold this position for 30 seconds to a minute and don’t forget to repeat on the other leg to balance out both hamstrings.

The Bottom Line

The benefit to this position rather than the slumped forward posture that bending over to touch your toes places you in is the fact that you can maintain thoracic extension while at the same time keeping your pelvis in an anterior tilt. This position of the pelvis is going to place a higher demand on the hamstrings, however in doing so, will reveal any tightnesses in them that you will want to address rather than hiding them by simply allowing your pelvis to roll back during the stretch.

This is just one example where old school methods of measuring and working on your flexibility are not helping you. If you really want to get to the bottom of your postural flaws and figure out ways to improve your forward head, rounded shoulders and slumped posture be sure to subscribe to our blog and turn on your notifications so you never miss a new post when it’s published.

Hey you made it to the end, I appreciate u bro a subscribe would be amazing! Let me know your thoughts. No matter what your age is exercise can help you achieve greater physical and mental fulfillment at any age.

If you want to get a complete workout program that will get you strong, lean and muscular while at the same time helping you to fix bad posture and muscle imbalances, be sure to follow my blog because i post two new posts every week.

New post every Monday and Thursday

Liked this post?

Let’s stay in touch!

← Back

Thank you for your response. ✨

Design a site like this with WordPress.com
Get started